
7 Reasons Your Backlit Graphics Look Muddy (And How to Fix Each)
If your backlit graphics look muddy, then you have encountered the fastest way to ruin a Rs 3 lakh store launch. A muddy backlit sign happens when seven critical details are missed. This guide is your diagnosis tool. For each reason your backlit signage quality issues are happening, we show the exact fix.
7/6/20267 min read
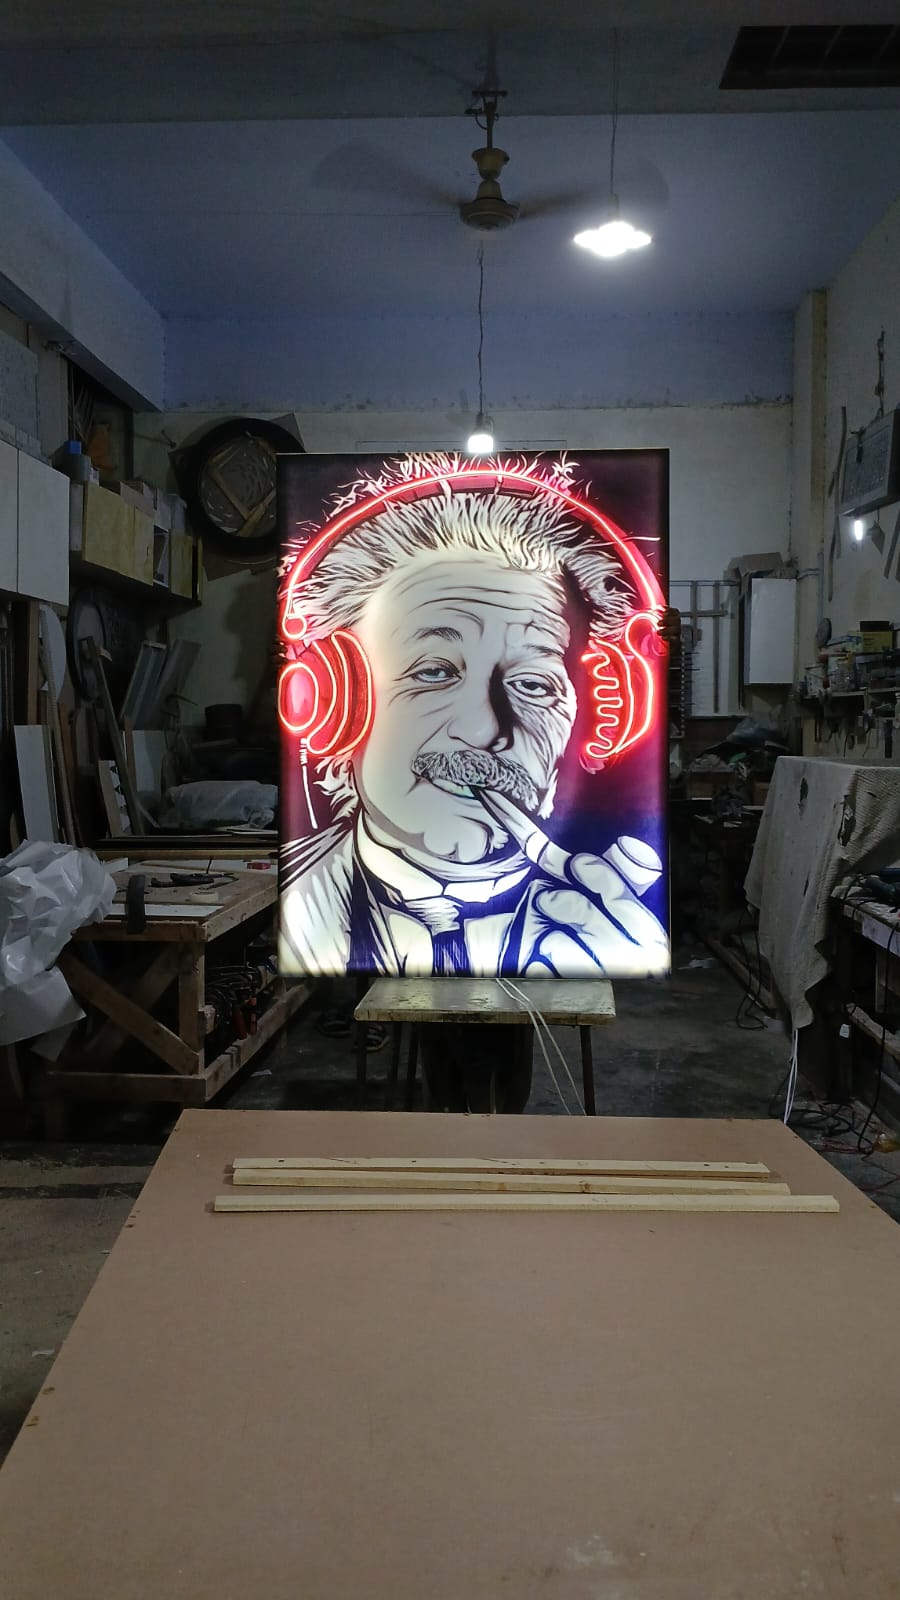
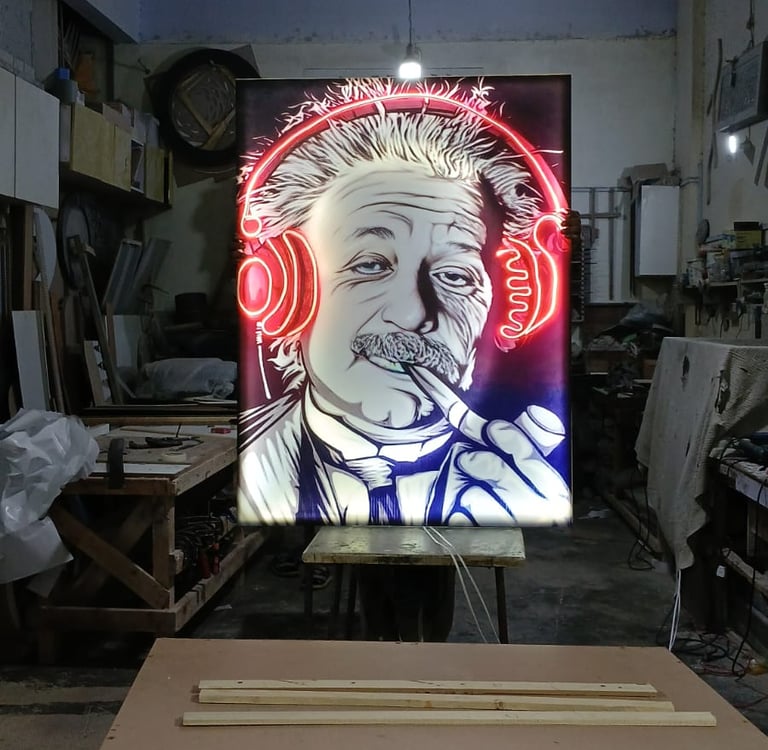
If your backlit graphics look muddy, then you have encountered the fastest way to ruin a Rs 3 lakh store launch. You approved bright red on screen. The installed retail lightbox looks gray, washed out, and cheap. Your client is asking, “Why does the backlit sign look bad?” and your printer is not answering.
A muddy backlit sign happens when seven critical details are missed. Backlit print washout, lightbox hotspots, uneven glow in the lightbox, and colors looking dull on the lightbox all trace back to these mistakes. Agencies get burned by cheap backlit film vendors who skip the backlit color profile, LED CRI for signage, and proper lightbox depth.
This guide is your diagnosis tool. For each reason your backlit signage quality issues are happening, we show the exact fix. For the full material and maintenance strategy, read Backlit Printing in Karachi: Fabric vs Film + Maintenance Guide (2026). If your lightbox looks gray today, you can fix it tomorrow.
Now, let’s explore the top 7 reasons that might be negatively impacting your backlit signage.
7 Reasons Your Backlit Graphics Look Muddy
If your backlit sign isn’t meeting your standards, it's probably because of one of the reasons listed below.
1. Wrong Ink Density
Ink density in backlit printing is the number one reason backlit graphics look muddy. Standard CMYK for paper uses 300–320% total ink. Translucent ink printing must stay at 180–220% ink limit. If your printer pushes too much ink for backlit signs, light cannot pass through. The result is that the lightbox looks gray during the day and dark at night.
Undersaturated backlit printing is the opposite problem. When ink is too light, the graphic looks washed out. Black turns gray. Red turns pink. This is common when designers send RGB to CMYK backlit files without a backlit printing ICC profile.
Luckily, Stampare Productions is here to tell you how to fix muddy backlighting from ink. First, ask your vendor for their 220% ink limit for backlit proof. Second, use double strike backlit printing for solid black. Third, add white ink backlit printing under bright colors to prevent backlit print washout.
The best backlit printing in Karachi runs a viewbox proof for backlit signs before full production. If your current print is already muddy, reprinting with correct CMYK for backlit printing is the only fix. Translucent ink printing cannot be corrected after the fact.
2. Bad Diffuser Choice
A bad diffuser for lightboxes creates lightbox hotspots that destroy even illumination in backlit signs. Many Karachi fabricators use clear acrylic lightbox panels to save money. Clear acrylic does not scatter light. You see every LED as a bright dot. The space between LEDs goes dark. Your backlit signage in Karachi ends up looking like a polka-dot board.
Now, you might be searching, “How to fix lightbox hotspots," on Google. We’ll save you the trouble. You need a true backlit diffuser sheet. Opal acrylic at 3 mm thickness gives 70% transmission and perfect diffusion for 80 mm lightbox depth. PET diffuser film works for curved signs. A PS diffuser sheet’s price is the lowest but yellows in two years.
Never use clear acrylic. The diffuser thickness in lightboxes must match the LED spacing in lightboxes. If LEDs are 60 mm apart, your diffuser must be 3 mm opal minimum. Even illumination in backlit signage also depends on LED CRI for signage.
But if your diffuser is wrong, even CRI 95 LEDs will look bad. Fix backlit washout by replacing clear panels with opal. Install the right diffuser. This is 50% of quality.
3. Cheap Backlit Film
Cheap backlit film is the fastest way to see how light bleeds through backlit signage. Duratrans printing in Karachi is the industry name, but vendors substitute thin backlit PVC film to hit cheap backlit printing in Karachi prices. Thin film cannot block LED light. You get a milky halo around all graphics. Duratrans looks gray when the base is low quality.
Another failure is that backlit film wrinkles. Film expands in the Karachi heat. If the frame has no tension system, the graphic sags. You see waves and shadows. Light bleeds through backlit areas where the film has lifted off the diffuser. Backlit film quality is not negotiable for mall signage with backlit pieces or fashion store lightbox installs.
You can fix this. Specify 205-micron PET film minimum. Better yet, switch to a tension fabric lightbox. Backlit polyester fabric has zero glare and no wrinkles. If you must use film, insist on a brand like Kodak Duratrans or the equivalent.
Fix lightbox hotspots by laminating film to a backlit diffuser sheet. But the real fix for retail lightbox problems is upgrading to fabric. Lightbox repair in Karachi sees 80% of failures from cheap backlit film.
4. Wrong Lightbox Depth
Lightbox depth determines even illumination in backlit signs. Shallow lightbox problems are common in storefront lightbox designs where architects want a slim profile. If your box is 40mm deep but the LED spacing in the lightbox is 100mm apart, you get shadows on backlit graphics. The light cannot spread before hitting the face.
So, how deep should a lightbox be? The rule is simple: lightbox depth in millimeters should equal LED spacing in the lightbox in millimeters. An 80mm deep box needs LEDs every 80mm or closer. Shadows on backlit graphics happen when this rule is broken. LED strips being too far apart is the cause.
We’re here to tell you how to fix a muddy backlit sign with depth issues. You have two options. First, rebuild the box deeper. Second, add more LED strips to reduce spacing.
The best backlit printing in Karachi specifies depth during quoting. If your vendor never asked, they missed this. A backlit printing company in Karachi should measure and advise before printing.
5. No Color Profile for Backlit
Having no backlit color profile is why brand colors look wrong in backlit signs. Designers convert RGB to CMYK for backlit signs using a paper profile like FOGRA39. CMYK for backlit projects is different. Light passes through ink, so colors shift. Colors look dull on a lightbox when you use the wrong profile. A backlit color profile compensates for light transmission.
A backlit printing ICC profile for translucent ink printing boosts saturation and adjusts black. Without it, red turns orange at night, blue turns purple, and black becomes gray. Having no backlit ICC profile is the reason backlit signage quality issues happen even with good ink and LEDs.
You can fix this by requesting a viewbox proof of the backlit sign on your actual material. The best backlit printing in Karachi already has backlit printing ICC profile files for fabric and film. You can improve backlit print quality by exporting from Adobe using “ISO Coated v2 300%” as a base and then letting your printer apply their backlit curve.
Fix the backlit washout by reprinting with the correct profile. Backlit printing best practices always start with proofing.
6. Dirty Acrylic Panel
Dust in the lightbox is a maintenance failure that makes backlit graphics look muddy over time. Dirty acrylic panels on a lightbox attract static. Static on backlit film pulls dust between the diffuser and graphic. You see dark spots on the backlit sign within 3 months, especially in Karachi’s dusty environment.
Not to worry! Stampare Productions is here to tell you how to clean backlit signage. First, power off. Second, use anti-static cleaner and microfiber only. Never spray directly. Lightbox cleaning requires removing the face, cleaning both sides of the diffuser, and sealing the frame. Dirty acrylic panels on a lightbox cannot be fixed from outside.
Schedule lightbox maintenance quarterly. Fabric lightbox cleaning is easier because you remove the graphic, wash it, and reinstall. Backlit film replacement is needed if the dust fused to the material. Experienced backlit vendors seal frames to prevent dust in the lightbox. If your installer left gaps, you will get dark spots on the backlit sign forever.
7. Poor LED CRI
Poor LED CRI is the hidden reason that a backlit sign looks green or a backlit sign looks blue. LED CRI for signage means Color Rendering Index. CRI 80 LEDs are common and cheap. They make red look brown and skin tones look sick. CRI 80 vs 90 for a lightbox is the difference between “budget” and "brand-approved."
So, what CRI works for a retail lightbox? Use CRI 90+ always. LED color temperature signage should be 4000K neutral white. 6500K cool white makes white glow blue and increases day-night color difference in the signage. Bad LED lightbox installs use 80 CRI 6500K strips because they are Rs. 200/meter cheaper.
To fix this, replace LED strips. Fix lightbox hotspots and color by upgrading to CRI 90+ 4000K. LED CRI for signage is not something you can fix in print. A backlit sign looking green means your LEDs are the problem.
Conclusion
Backlit graphics look muddy because of seven preventable mistakes. After reading this guide, you have learned how to fix a muddy backlit sign by diagnosing which reason applies to you. Fortunately, Stampare Productions has years of experience and proven results. We know exactly what to avoid and which elements to utilize that can bring your backlit sign to life.
Reach out to us today! You can send a photo of your lightbox for a free diagnosis. We’ll tell you which of the 7 reasons is causing your backlit print to look washed out and give you a quote for a fixed backlit sign in Karachi.
Stampare Productions offers the best backlit printing in Karachi, which means that we solve problems, not just print.
Frequently Asked Questions
1. Why does a backlit sign look bad in daylight?
It is usually an undersaturated backlit print or no double strike backlit printing on black. The lightbox looks gray because ink density backlit printing is too low. Daylight overpowers the LEDs. Fix backlit washout by reprinting with 220% ink and white ink backlit printing underbase.
2. How to fix lightbox hotspots?
Replace the clear acrylic lightbox with a 3mm opal backlit diffuser sheet. Check that the LED spacing in the lightbox matches lightbox depth. A bad diffuser in the lightbox is the main cause. Even illumination in backlit signs needs proper diffusion and spacing. Fix backlit washout by fixing hotspots first.
3. Can you fix a muddy backlit sign without reprinting?
Sometimes. If the cause is dust in the lightbox, dirty acrylic panels in the lightbox, or poor LED CRI for signage, you can clean or replace LEDs. If the cause is ink density in backlit printing, cheap backlit film, or no backlit color profile, reprinting is the only fix. Backlit graphics that look muddy because of ink cannot be saved.
4. What is the CRI for a retail lightbox?
Use CRI 90+ minimum. LED CRI for signage below 90 makes a backlit sign look green or blue. Fashion store lightboxes and pharmacy lightbox signage must use CRI 95. Backlit color shift is the worst with low CRI.
5. Why do my brand colors look wrong on the lightbox?
Three reasons: No backlit ICC profile, poor LED CRI for signage, or backlit color shift from wrong LEDs. RGB to CMYK for backlit conversion without a backlit printing ICC profile shifts colors 15–20%. Fix backlit washout by proofing on a viewbox before production.
6. How to prevent muddy backlighting on the next project?
Use this checklist:
Specify 220% ink density in backlit printing.
Use a 3mm opal backlit diffuser sheet.
Confirm LED spacing in the lightbox equals depth.
Request backlit color profile proof.
Specify CRI 90+ 4000K LEDs.
Seal frame to prevent dust in the lightbox.
Contact
Reach out for custom UV printing quotes
Phone
asif_lone@hotmail.com
+92 3335 5344 43
© 2025. All rights reserved.
Trust & Process: How It’s Made—From Order to Pickup