
6 Rules for UV Printing on Acrylic, Aluminum & Wood in Karachi (File Prep Guide)
A designer sends a file for UV printing on acrylic in Karachi; the print looks perfect on delivery, and a month later the UV print looks like it’s not sticking at the corners. Knowing how to print on acrylic correctly is 70% preparation and 30% printing. If you get these six rules right, your UV printing on acrylic, UV printing on aluminum, and UV printing on wood will last 3 years, not 3 months.
7/24/20269 min read
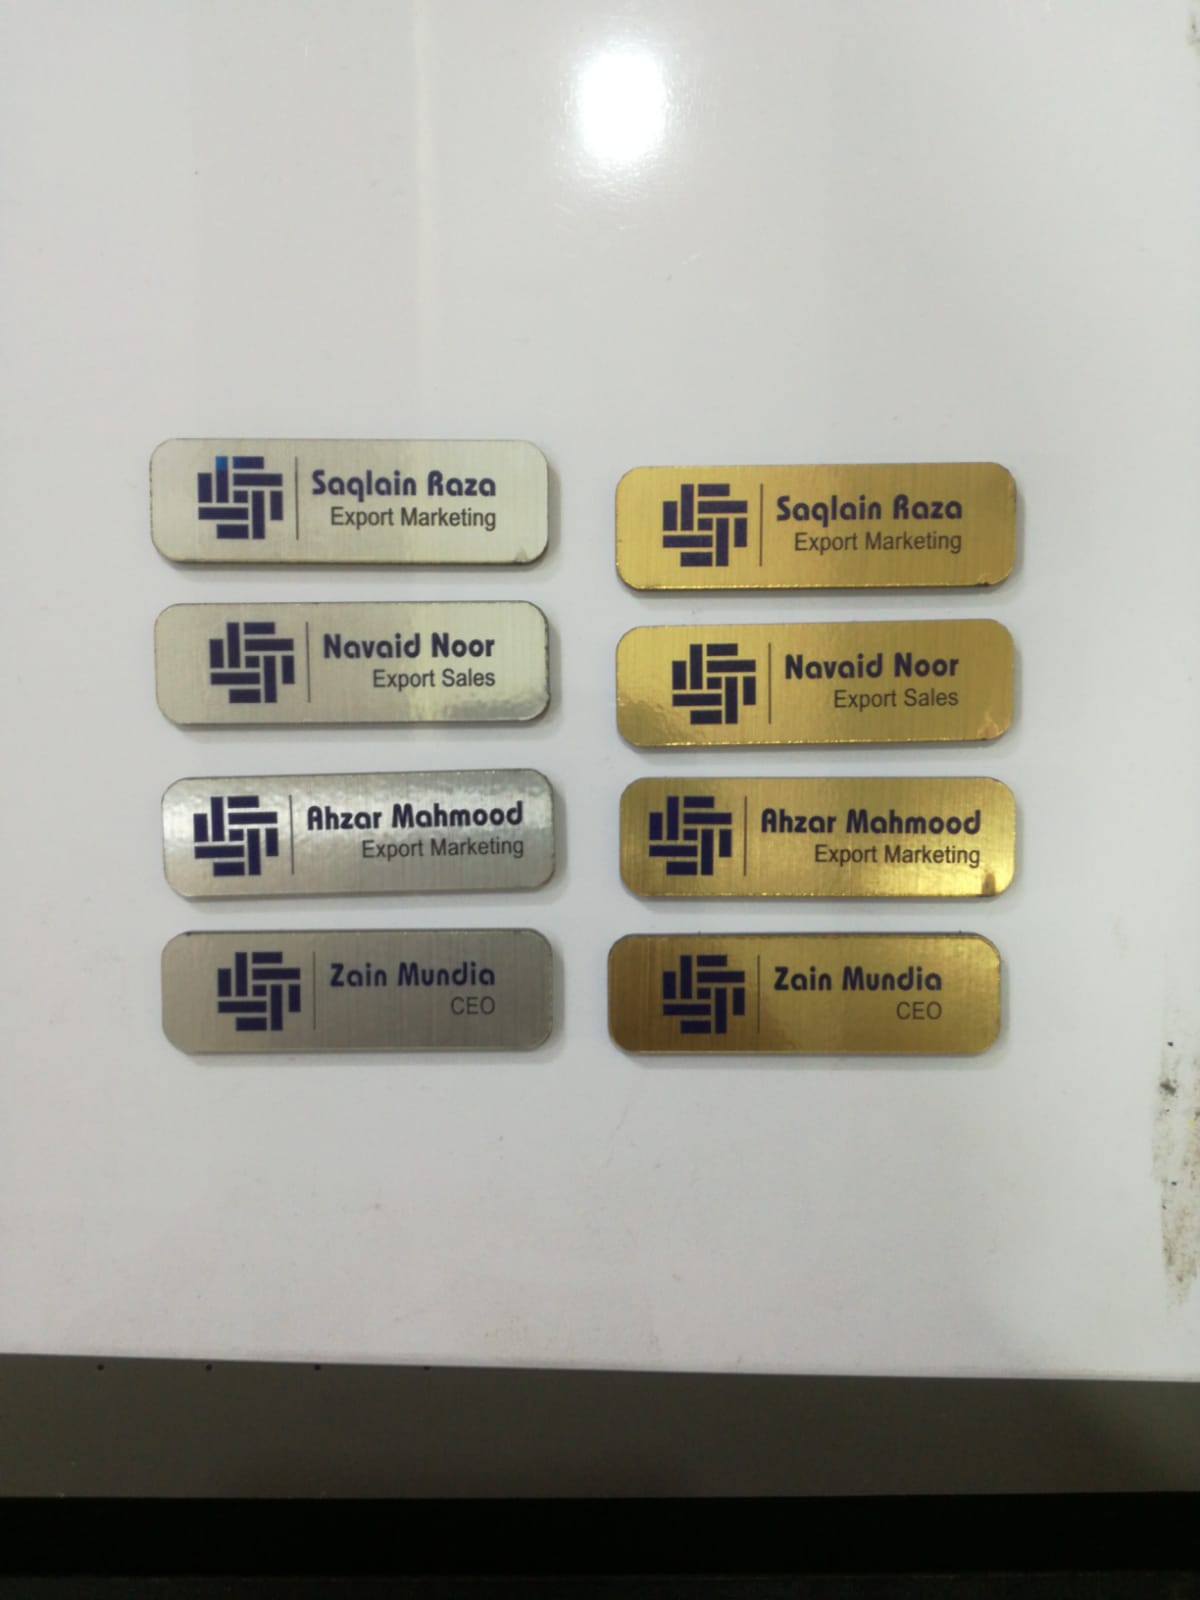
UV ink peeling off after 30 days is the most expensive mistake in Karachi. A designer sends a file for UV printing on acrylic in Karachi, the print looks perfect on delivery, and a month later the UV print looks like it’s not sticking at the corners. Aluminum printing scratches with a fingernail. The wood print looks muddy because the ink sinks into the wood. All three failures are prep failures, not printer failures.
Knowing how to print on acrylic correctly is 70% preparation and 30% printing. UV printing on aluminum needs degrease and primer. UV printing on wood needs sanding and sealer. An acrylic print file setup needs a proper white layer file setup named Spot_White Spot_Gloss. If you get these six rules right, your UV printing on acrylic, UV printing on aluminum, and UV printing on wood will last 3 years, not 3 months.
For technology cost and durability comparison, see our pillar UV Printing vs Eco-Solvent vs Latex in Karachi (2026): The Complete File, Material, and Cost Guide.
6 Rules for UV Printing on Acrylic, Aluminum & Wood in Karachi
Follow these six rules to make sure your product turns out the way you imagined!
Rule 1: Acrylic Needs Flame Polish
UV printing on acrylic fails when acrylic printing prep is skipped. Clear acrylic printing and black acrylic printing come with invisible factory oil, fingerprints, and static dust. Acrylic surface preparation for UV printing includes flame polish for the acrylic, an isopropyl wipe on the acrylic, and a tack cloth. Without it, the acrylic’s ink starts peeling, and the UV ink starts peeling off in 30 days.
Flame polish on acrylic is not for shine. It burns off microfibers from the laser cutting that causes UV print bubbles. A 70% isopropyl wipe on acrylic removes oil that makes the UV print not stick. After the wipe, you must use a tack cloth to remove static dust. Knowing how to print on acrylic is all about these steps. Not following these instructions is why UV ink peels off acrylic.
UV printing on acrylic in Karachi needs this checklist before printing. We reject 20% of acrylic sheets that clients bring because they have deep scratches or a wax coating. The best material for UV printing is cast acrylic, not extruded acrylic. Cast holds ink better. Clear vs black acrylic printing both need the same prep, but black shows peeling faster.
If your UV printing on acrylic still looks dull after proper prep, the problem is white ink, not prep. Read 7 Reasons Your UV Print Looks Dull (And How White Ink Fixes It) to check if you need double-strike white ink for opacity.
Rule 2: Aluminum Needs Degrease
UV printing on aluminum and UV printing on aluminum composite fails when aluminum printing prep is skipped. Aluminum composite printing in Karachi and ACP printing in Karachi have factory oil for shipping. Metal printing in Karachi for outdoor use needs a primer, or the aluminum printing scratches with a key.
Aluminum degreasing primer is a two-step process. Step one is aluminum degreasing with acetone to remove oil. Step two is using primer for the aluminum before UV printing, which is a clear adhesion promoter. Dibond printing in Karachi and ACP vs aluminum sheets for UV printing both need it. UV printing on aluminum without primer passes the delivery but fails the UV printing adhesion test after one week in the sun.
Here’s how to print on aluminum for outdoor use. Aluminum print adhesion needs primer, white ink, color, and a clearcoat. The primer for aluminum UV printing costs Rs 30 per sq ft but prevents the “Why does the UV print scratch off?” complaints. Aluminum printing scratches because the UV ink is not sticking to the raw metal. Outdoor material’s UV printing needs primer rated for 3 years in Karachi’s sun.
UV printing on aluminum in Karachi for outdoor materials' UV printing also needs a flatness check. Aluminum bows 2 mm due to heat. We check the flatness with a scale. If it’s bowed, we clamp it during the printing, or the UV printer’s shift causes blurring.
Rule 3: Wood Needs Sanding 220 Grit
UV printing on wood’s preparation is the most skipped step. Wood sealer for UV printing is mandatory because the ink sinks into the wood’s pores. Sanding wood for UV printing at 220 grit closes the grain, and wood sealer for UV printing seals it. Without it, the wood print looks muddy, and the UV print looks dull on wood.
How to print on wood correctly? Start with sanding the wood for UV printing with 220 grit, not 120. 120 leaves scratches that show through the print. Wood sealer for UV printing is a clear sanding sealer that blocks absorption. MDF printing in Karachi needs two coats of sealer because MDF is a sponge. Plywood UV printing needs one coat. Solid wood needs one coat and light sand after.
UV printing on wood can have two looks. A full seal with full white hides the grain so the color is accurate. Half-tone white at 50% keeps wood grain printing with UV visible through color. In MDF vs solid wood UV printing, MDF gives flat color, while solid wood gives character but needs more prep. The best sealer for wood UV printing is acrylic sanding sealer, not an oil-based sealer. Oil repels UV ink.
Wood printing looks muddy because the ink sinks into the wood and spreads in the pores. UV printing on wood preparation with a wood printing sealer stops the sinking. Wood print looking muddy is 100% preventable. If you're curious about how we ensure quality control from our end, check out our Behind the Scenes Workflow That Prevents 95% of Printing Failures.
Rule 4: File Must Have a White Layer
White layer file setup is where 60% of UV printing file setup jobs fail. A spot white layer and spot gloss layer setup must have separate spot color channels named exactly “Spot_White” and “Spot_Gloss” with a 100K white layer. Knowing how to create a white ink layer is not about making a white box in CMYK. The printer cannot read that. Here’s how to go about it
File setup for UV printing on acrylic needs three layers:
Layer 1: Spot_White – 100% K vector where you want white ink.
Layer 2: Color – CMYK artwork.
Layer 3: Spot_Gloss – 100% K vector where you want gloss.
Using Adobe Illustrator for a white ink layer includes creating a new spot color named Spot_White, which is set to 100% K and then set to overprint. The white ink underbase setup should have a choke of 2 pt inside the color to avoid a white edge.
UV printing file setup for a white ink layer does not mean using 0C 0M 0Y 0K white. That prints nothing. The 100K white layer in the Spot_White channel prints white ink. White layer file setup for black acrylic needs flood white, not just under the logo. File setup for UV printing on acrylic with flood white means that the spot white covers the entire sheet.
If you want to see when using white ink is worth it on these materials, read our post 5 Times White Ink and Layered UV Printing Is Worth It.
UV printing bleed and the white layer file setup are linked. If the white layer is the same size as the color, you get a white border after a UV printer shift of 1mm. Choke the white by 0.5 mm.
If you want to see what Spot_Gloss can do beyond protection, see 6 Spot Gloss and Texture Effects You Can Design (With Free File Setup), where we explain how to achieve raised texture, frosted glass, and gloss combinations.
Rule 5: Leave a 3 mm Bleed
UV printing bleed is mandatory because UV printer shift is real. Bleed for UV printing means having a 3 mm bleed of extra artwork beyond the cut line. The safe area in UV printing is 5 mm inside the cut line where no critical text sits. So, how much bleed do you need for acrylic printing? 3 mm bleed on all sides.
A UV printer shift of 1 mm happens because the acrylic moves when it’s heated by UV lamps. Acrylic printing in Karachi without bleed shows white edges after cutting. File setup for UV printing without a safe area cuts off the logo after UV printer shift. Artwork setup for UV printing must include a bleed line and a safe area.
How much bleed do you need in acrylic printing for small items like 2x3 inch acrylic stands? Still 3 mm bleed. UV printing bleed is not optional for small or large. Bleed for UV printing prevents white lines. Safe areas in UV printing prevent text clipping. Artwork setup for UV printing should show the bleed line in red, and the safe line in blue.
Rule 6: Never Use RGB Black
The top complaint in acrylic printing is that black looks gray on acrylic. In RGB black vs rich black for UV printing, RGB black is 0R 0G 0B, which converts to 75C 68M 67Y 90K. That is 300% ink; it bleeds and still looks gray on acrylic because acrylic transmits light. Rich black UV printing needs 60C, 40M, 40Y, and 100K black for deep black acrylic printing.
60C 40M 40Y 100K black is a rich black UV printing formula for acrylic. 60 cyan + 40 magenta + 40 yellow + 100 black = 240% ink, under the 220% ink limit? Actually for UV, 240% ink is allowed because UV cures instantly, unlike backlit. The best black for UV printing for clear acrylic printing and black acrylic printing is 60C 40M 40Y 100K black. Deep black acrylic printing needs double strike black for opacity.
UV printing black looks gray when the file is 0C 0M 0Y 100K only. 0C 0M 0Y 100K is 100% ink. This means that light passes through it, and it looks gray. To fix black looking gray on acrylic, you need 60C 40M 40Y 100K black and a white ink underbase. Deep black acrylic printing with white ink under 60C 40M 40Y 100K black looks jet black.
RGB black vs rich black UV—never send an RGB file. Convert to CMYK with 60C 40M 40Y 100K black for all black over 2 pt text. Small black text under 8 pt should be 0C 0M 0Y 100K to avoid registration blur.
Client Checklist to Send Us Before UV Printing on Acrylic, Aluminum, and Wood
Before you send artwork for UV printing on acrylic in Karachi, UV printing on aluminum in Karachi, or UV printing on wood in Karachi, send this:
Material thickness: Acrylic – 3 mm, 5 mm, or 8 mm? Aluminum composite – 3 mm or 4 mm? Wood/MDF – 6 mm, 12 mm, 18 mm? Thickness decides jig and focus height.
One side or two sides: One-side or two-side print? Two sides need Spot_White between the sides to block show-through.
Indoor or outdoor: Indoor or outdoor? Outdoor requirement comprises primer for aluminum UV printing, wood sealer for UV printing, and a clear coat. Hard coat is required for outdoor material UV printing.
Gloss or Matte Finish: Gloss is standard UV; matte needs a matte clearcoat. The best material for UV printing’s finish affects UV printing costs in Karachi.
File includes: Does the file include Spot_White Spot_Gloss layers with a 100K white layer? Does black use 60C 40M 40Y 100K black? Is there a 3 mm bleed for UV printing bleed and a 5 mm safe area?
Conclusion: Follow These Rules and Get Your Money’s Worth
UV printing on acrylic, UV printing on aluminum, and UV printing on wood are not like vinyl printing. UV ink peeling off, aluminum printing scratches, and wood print looking muddy are all prep failures.
Stampare Productions is Karachi’s specialist for UV printing on acrylic, UV printing on aluminum composite, and UV printing on wood. We have printed over 12,000 sq ft of clear acrylic printing, black acrylic printing, ACP printing in Karachi, Dibond printing in Karachi, MDF printing in Karachi, and solid wood in the last 18 months. Our workshop has a flame polish acrylic station, tack cloth station, primer booth, and UV printing adhesion test kit with tape.
If you’re curious, see our QC adhesion test in our post Behind the Scenes: Our 8-Step UV Workflow and Quality Control in Karachi. That is why clients that need UV printing on acrylic in Karachi and luxury stores trust us for in-house UV printing in Karachi that does not peel.
Send us your material photo, thickness, and artwork with Spot_White Spot_Gloss layers. We will check the file setup for UV printing for UV printing bleed and the white layer file setup.
Reach out to Stampare Productions today for UV printing on acrylic in Karachi, UV printing on aluminum in Karachi, and UV printing on wood in Karachi that lasts.
For a full comparison of eco-solvent vs UV printing, read our pillar UV Printing vs Eco-Solvent vs Latex in Karachi (2026): The Complete File, Material, and Cost Guide.
Frequently Asked Questions
1. Why does UV ink peel off acrylic after a month?
It’s because of the oil and dust under the ink. The UV ink peels off because the acrylic’s surface preparation for UV printing is skipped. Acrylic ink peeling starts as UV print not sticking at the corners after 30 days. UV printing on acrylic in Karachi without prep fails the UV printing adhesion test.
2. How to Prepare Aluminum Composite for UV Printing?
Aluminum composite printing in Karachi includes acetone as well as the priming process for aluminum printing. This needs an adhesion promoter. An aluminum degreasing primer costs Rs 30 per sq ft, but it prevents aluminum printing scratches and UV prints from not sticking.
3. How do you prep wood for UV printing so the ink does not sink?
Sanding wood for UV printing at 220 grit and a wood sealer for UV printing is required for UV printing on wood preparation. Ink sinks into the wood because wood is porous. Wood sealer for UV printing seals the pores. MDF printing in Karachi needs two coats of sealer while solid wood only needs one.
4. How do I make a white ink layer in Illustrator for UV printing?
Create a spot color named Spot_White. Set it to 100% K and then set it to overprint. Make a vector shape for it. White layer file setup for flood white means a rectangle covering the entire artboard on the Spot_White layer. 100K white layer means 100% K in Spot_White prints the white ink. The white ink underbase setup should have a choke of 2 pt inside the color to avoid a white border after the UV printer shift.
5. How much bleed do I need for UV printing on acrylic?
UV printing bleed is an extra 3 mm bleed beyond the cut line on all sides. The bleed for UV printing prevents white edges after cutting. The safe area in UV printing is 5 mm inside the cut where no text should be.
Contact
Reach out for custom UV printing quotes
Phone
asif_lone@hotmail.com
+92 3335 5344 43
© 2025. All rights reserved.
Trust & Process: How It’s Made—From Order to Pickup